Installing a float switch for a submersible sewage pump is a crucial step to ensure the efficient and automatic operation of the pump. As a reputable supplier of submersible sewage pumps, I've had extensive experience with these systems and understand the importance of a proper installation. In this blog post, I'll guide you through the process of installing a float switch for a submersible sewage pump, step by step.
Why Use a Float Switch?
Before we dive into the installation process, let's briefly discuss why a float switch is essential for a submersible sewage pump. A float switch is a device that automatically turns the pump on and off based on the water level. When the water level rises to a certain point, the float switch activates the pump, and when the water level drops below a specific level, it turns the pump off. This automation not only saves energy but also prevents the pump from running dry, which can cause damage to the pump motor.
Tools and Materials You'll Need
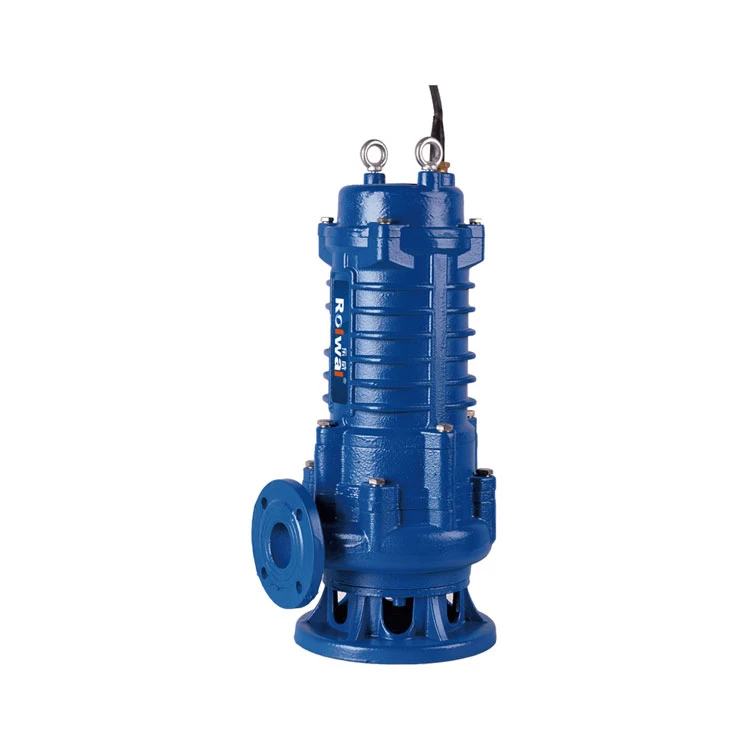
- Submersible Sewage Pump: You can choose from our wide range of pumps, such as the Garden Submersible Pump with Float Switch, Plastic Submersible Sewage Pump, or Stainless Steel Garden Water Pump.
- Float Switch: Make sure the float switch is compatible with your pump.
- Electrical Wire: The wire should be of the appropriate gauge for the pump's power requirements.
- Screwdriver: For removing and attaching electrical connections.
- Wire Strippers: To strip the insulation from the electrical wires.
- Electrical Tape: To insulate the wire connections.
- Cable Ties: To secure the float switch and the electrical wire.
Step 1: Safety First
Before you start any electrical work, ensure that the power supply to the pump is turned off. This will prevent any electrical shocks or short circuits during the installation process. You can turn off the power at the circuit breaker or the disconnect switch.
Step 2: Prepare the Float Switch
Inspect the float switch for any damage or defects. Make sure the float moves freely and the electrical contacts are clean. If the float switch has a built - in connector, ensure it is in good condition.
Step 3: Connect the Float Switch to the Pump
- Identify the Wires: The float switch usually has two or three wires. One wire is for the power supply, and the others are for the control circuit. Refer to the manufacturer's instructions to identify the correct wires.
- Strip the Wires: Use the wire strippers to strip about 1/2 inch of insulation from the ends of the wires on both the float switch and the pump.
- Connect the Wires: Connect the corresponding wires from the float switch to the pump. For example, connect the power wire from the float switch to the power input of the pump. Use a screwdriver to tighten the wire connections securely.
- Insulate the Connections: Wrap the wire connections with electrical tape to prevent any short circuits. Make sure the tape covers the exposed wires completely.
Step 4: Mount the Float Switch
- Determine the Mounting Location: The float switch should be mounted in a location where it can accurately detect the water level. It should be placed in the sump pit or the area where the pump is installed.
- Use Cable Ties: Secure the float switch to the pump or a fixed structure using cable ties. Make sure the float switch can move freely without any obstructions. The float should be able to rise and fall with the water level.
Step 5: Connect the Power Supply
- Run the Electrical Wire: Run the electrical wire from the pump and the float switch assembly to the power source. Make sure the wire is routed safely and is not exposed to any sharp edges or moving parts.
- Connect to the Power Source: Connect the electrical wire to the power source. If you are using a circuit breaker, make sure the breaker is rated for the pump's power requirements.
Step 6: Test the Installation
- Turn on the Power: Once the installation is complete, turn on the power at the circuit breaker or the disconnect switch.
- Check the Float Switch Operation: Slowly pour water into the sump pit or the area where the pump is installed. As the water level rises, the float switch should activate the pump. When the water level drops, the pump should turn off automatically.
- Inspect for Leaks and Errors: Check for any leaks in the pump or the electrical connections. If you notice any problems, turn off the power immediately and troubleshoot the issue.
Troubleshooting Tips
- Pump Does Not Turn On: Check the power supply, the wire connections, and the float switch. Make sure the float switch is moving freely and the electrical contacts are clean.
- Pump Does Not Turn Off: This could be due to a stuck float switch or a problem with the control circuit. Inspect the float switch and the wire connections.
- Electrical Problems: If you experience any electrical issues, such as short circuits or tripped breakers, check the wire connections and the insulation. Make sure the electrical wire is of the correct gauge.
Conclusion
Installing a float switch for a submersible sewage pump is a relatively straightforward process if you follow the steps carefully. By using a float switch, you can ensure the efficient and automatic operation of your pump, which will save you time and energy in the long run.
If you are interested in purchasing a submersible sewage pump or need more information about our products, feel free to contact us for procurement and further discussions. We are committed to providing high - quality pumps and excellent customer service.

References
- Manufacturer's manuals of submersible sewage pumps and float switches.
- Electrical safety guidelines and standards.


